
The login name and password for your connection is the same as your unique BMB Department network credentials (used for network shares, etc).
Need assistance? Just submit a ticket!
|
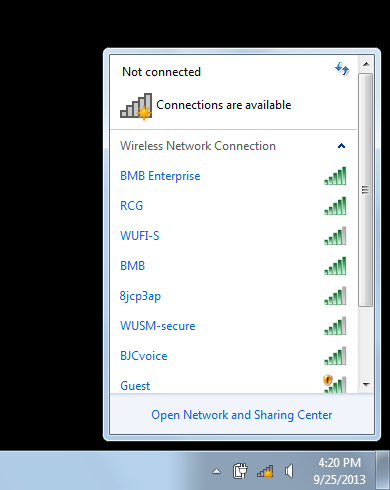
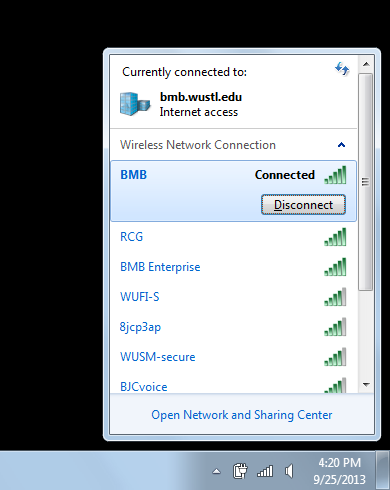
* Click the WiFi indicator in your system tray (by your clock).
* Click Open Network and Sharing Center. |
|
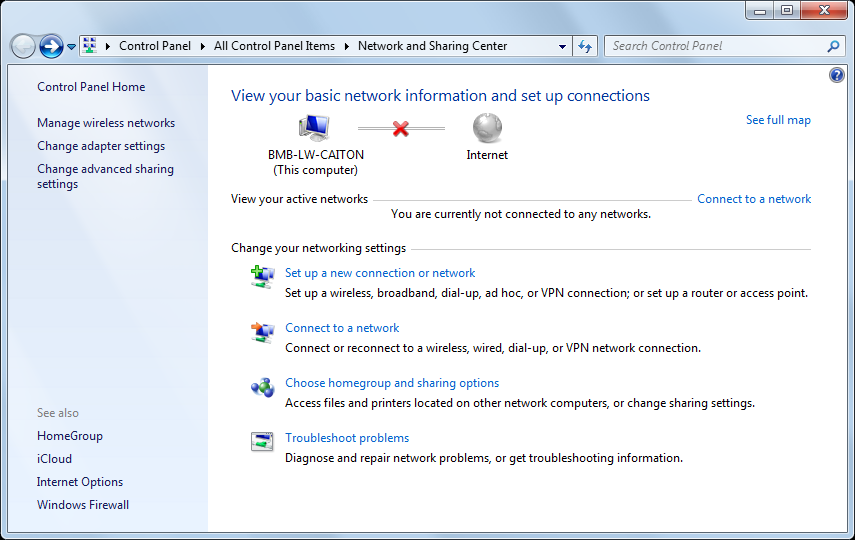
| * Click Manage wireless networks on the upper-left part of the window. |
|
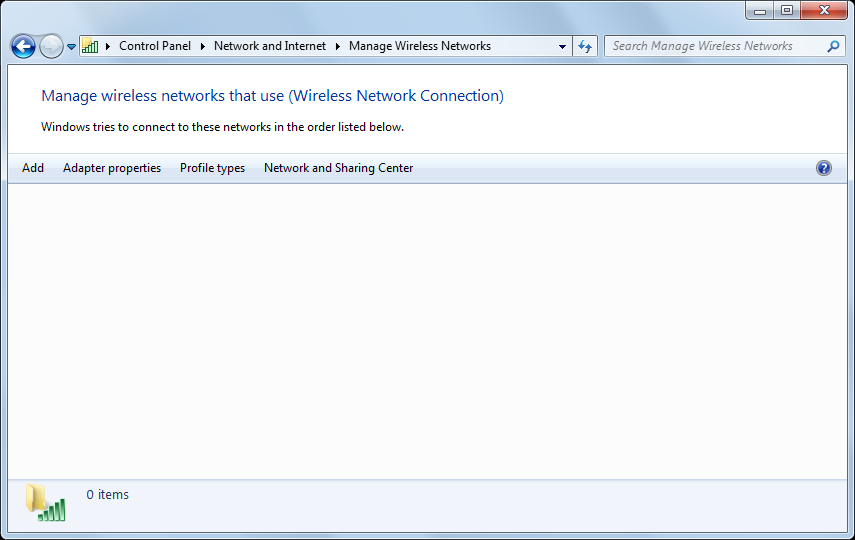
| * Click the Add button. |
|
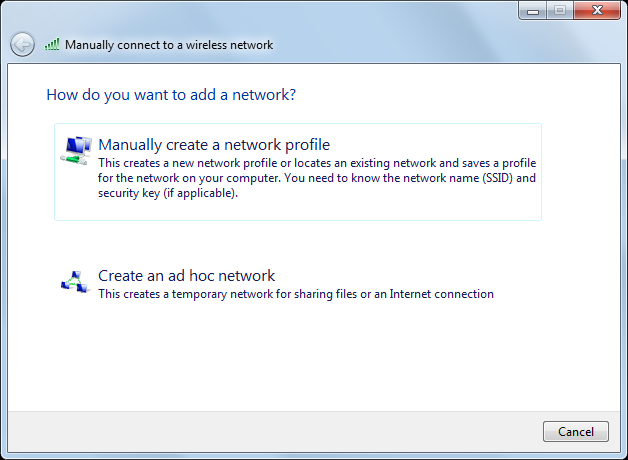
| * Click Manually create a network profile. |
|
|
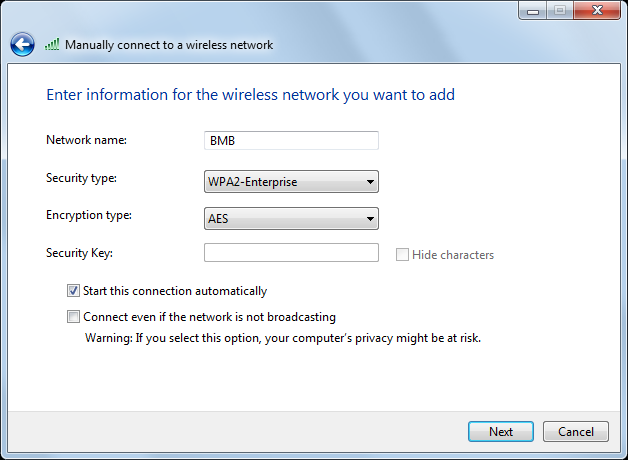
* For Network name, type in BMB.
* For Security type, select WPA2-Enterprise (not WPA-Enterprise, etc). * Click Next. |
|
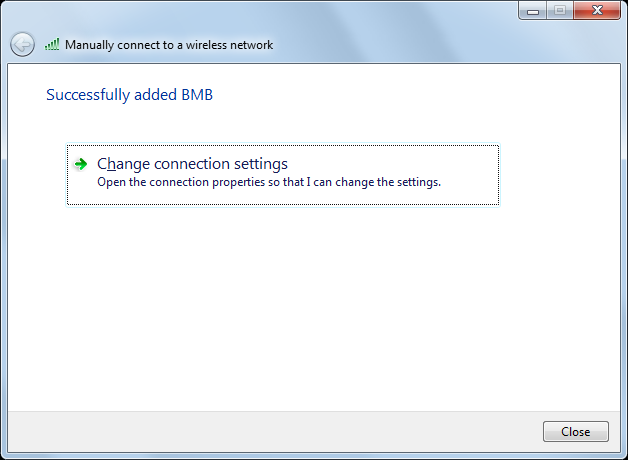
| * Click Change connection settings. |
|
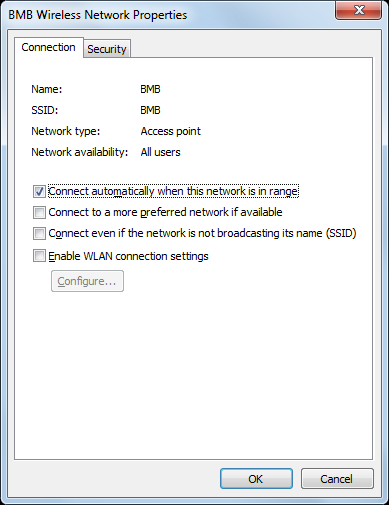
| * Click the Security tab. |
|
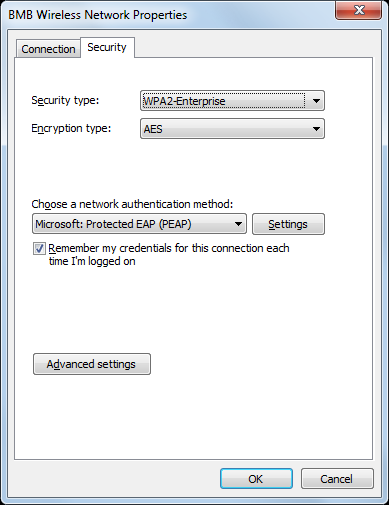
| * Click the Settings button. |
|
|
* Uncheck the box next to Validate server certificate.
* Click the Configure button. |

|
|
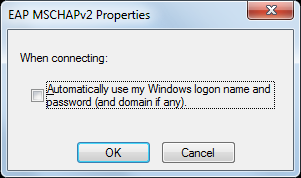
* Uncheck the box next to Automatically use my Windows logon name and password.
* Click the OK button to confirm the EAP MSCHAPv2 Properties settings. |
|
| * Click the OK button to confirm the Protected EAP Properties settings. |
|
| * Click the Advanced settings button. |
|
|
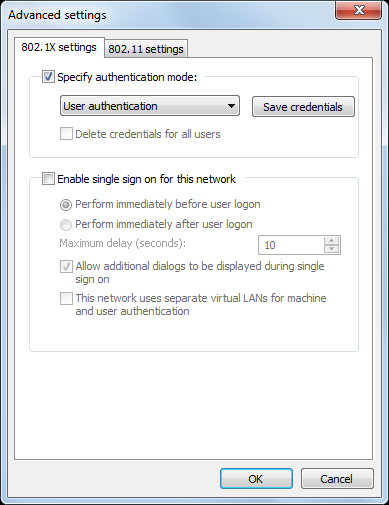
* Check the box next to Specify authentication mode.
* Select User authentication from the drop-down list. * Click the OK button to confirm the Advanced settings settings. |
|
| * Click the OK button to confirm the BMB Wireless Network Properties settings. |
|
| * Click the Close button to dismiss the Successfully added BMB window. |
|
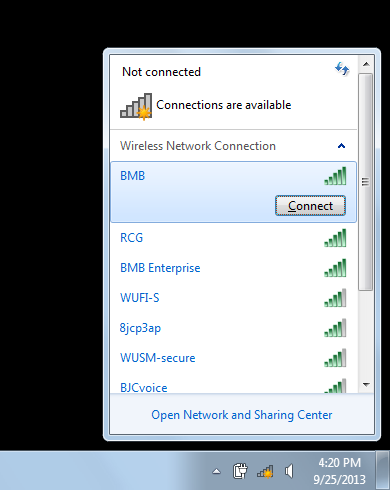
| * Click the WiFi indicator in your system tray, click on BMB, and then click Connect. |
|
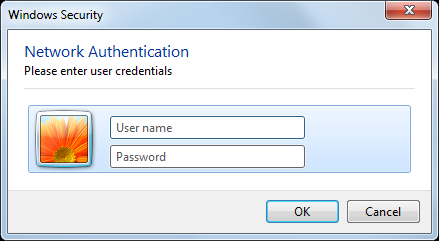
| * Enter your BMB network login credentials. This is the username and password you use to access resources on the BMB network (shared folders, etc). |
|
| You should now be connected to BMB WiFi! |
|